
Chris Bishop
Sales Representative
Quick Fixes to Seal Drafts and Keep Heating Bills Down This Winter
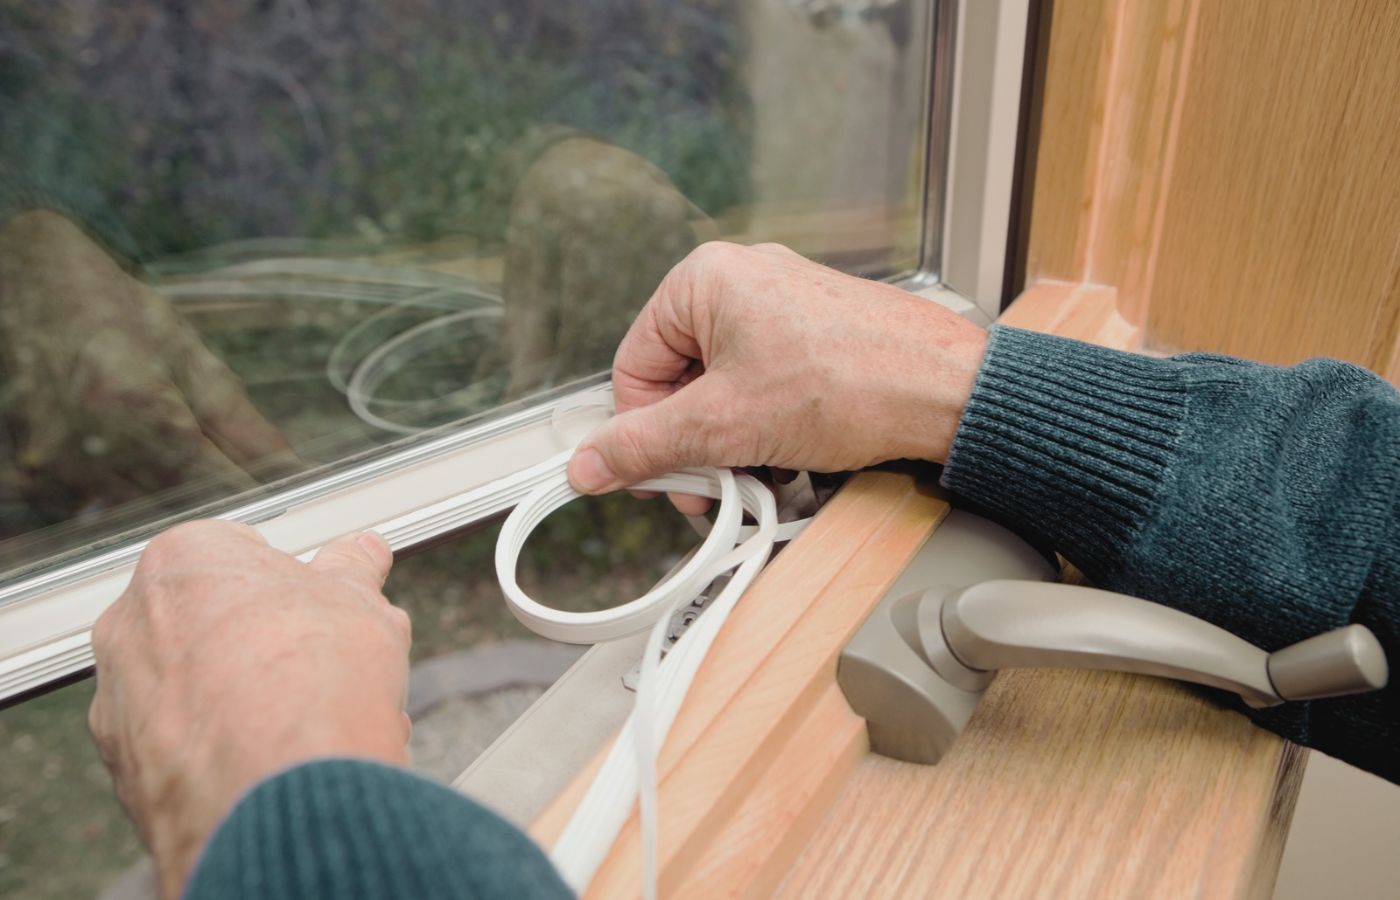
Winter conditions across Ontario place severe demands on residential heating systems. Sub-zero temperatures, persistent wind chill, and rapid freeze-thaw cycles force furnaces, heat pumps, and boilers to operate continuously to maintain comfortable indoor temperatures. Heating accounts for over 60 percent of the average Canadian home's energy use, according to Natural Resources Canada. When warm indoor air escapes and cold outside air infiltrates through unintended gaps, heating equipment cycles more often, increasing utility costs and accelerating mechanical wear.
Locating and sealing air leaks represents the most immediate, cost-effective step a homeowner can take to reduce monthly natural gas or electricity expenses. Unaddressed drafts also create uneven indoor temperatures, cause moisture accumulation around window frames, and diminish perceived home value during winter real estate showings. Addressing these draft zones requires simple materials available at local building supply retailers. Homeowners considering a move can also explore our latest property listings to discover available homes and evaluate their winter comfort and energy efficiency.
Identifying Air Leakage Zones
Air infiltration occurs where building materials meet, expand, contract, or transition between exterior and interior elements. Before applying any sealant, property owners must systematically inspect common trouble spots across the residence.
An effective low-tech detection method is to conduct a smoke pencil or candle test on a cold, windy day. Turn off all combustion appliances and run the kitchen and bathroom exhaust fans. This depressurizes the house and exaggerates incoming drafts. Move the smoke source along window casings, baseboards, electrical outlets on exterior walls, and exterior door perimeters. Distinct movement or dissipation in the smoke indicates active air movement.
Pay close attention to high-risk zones:
- Exterior door thresholds, sweeps, and perimeter jambs
- Window sashes, stops, and latch mechanisms
- Gaps behind interior baseboards along exterior foundation walls
- Penetrations around plumbing stacks, dryer vents, and outdoor hose bibs
- The perimeter of attic access hatches
- Recessed lighting fixtures set into upper-floor ceilings
Upgrading Exterior Door Weatherstripping and Sweeps
Exterior doors are significant thermal weak points because of repeated mechanical movement, seasonal frame shifting, and degrading seal materials. Traditional wooden or fibreglass doors expand during humid summers and contract throughout dry Canadian winters, widening perimeter gaps.
Begin by inspecting the jamb seal. Compressible foam tape degrades within two to three seasons and flattens under prolonged compression. Replace worn strips with high-performance V-strip (tension seal) or silicone bead weatherstripping. V-strips sit inside the door jamb channel, flexing outward to maintain a continuous air barrier even as the door slab shifts within its frame. Measure each side of the frame accurately, cut the strip with heavy-duty shears, and fasten it along the interior stop moulding so the seal compresses halfway when the door latches shut.
The threshold interface requires equal attention. Install a heavy-duty, screw-mounted door sweep featuring a flexible neoprene or silicone fin along the bottom edge of the door slab. Ensure the sweep makes uniform contact with the threshold plate across the entire width of the opening without dragging heavily against interior flooring. For doors with adjustable threshold plates, use a screwdriver to raise the threshold screws until the bottom weatherstripping seats firmly against the sill.
Sealing Windows and Applying Temporary Thermal Film
Older double-hung, slider, or early double-pane vinyl and wood windows frequently allow convective drafts around the sash perimeter and between the glazing bead.
Inspect the locking hardware first. Cam locks draw window sashes tightly together against interlock weatherstripping. If the latch is loose, misaligned, or missing its keeper, the sashes will sit apart, allowing direct exterior air infiltration. Realigning or replacing worn window locks frequently closes drafts without requiring additional sealants.
For gaps along fixed window joints and casing trim, apply a continuous bead of paintable acrylic latex or elastomeric sealant. Avoid standard silicone if the surface needs to be painted, as paint will not adhere to pure silicone surfaces. Smooth the bead with a damp applicator tool to ensure complete adhesion and an air barrier.
For windows with high conductive heat loss or substantial perimeter drafts that you can't resolve immediately through hardware adjustments, install shrink-wrap thermal window film. Clean the window casing thoroughly with rubbing alcohol to remove dust and oil. Apply double-sided tape along the outer face of the casing, stretch the clear polyolefin film over the opening, press it firmly to the tape, and use a standard hair dryer to shrink the film until smooth. This creates a dead-air space between the glass and the interior room, reducing convective loops and window condensation.
Insulating Exterior Wall Outlets and Switch Plates
Electrical boxes located on exterior walls penetrate the interior vapour barrier and drywall assembly. Cold air from unconditioned wall cavities flows directly through wire knockouts, outlet prongs, and perimeter drywall cutouts into living spaces.
To seal these penetrations safely, shut off power to the target circuits at the primary electrical panel. Remove the plastic switch or outlet cover plate using a standard screwdriver. Inspect the perimeter gap between the metal or plastic electrical box and the surrounding drywall. Fill perimeter gaps exceeding three millimetres with non-conductive, fire-rated acoustic sealant or paintable latex caulk, taking care not to push sealant into the electrical box interior.
Insert a pre-cut, closed-cell polyethylene foam insulation gasket directly over the electrical receptacle face, aligning the cutout openings with the screw holes and plugs. Reattach the cover plate firmly over the gasket. For rarely used outlets on exterior walls, insert child-safety plastic plug covers into the receptacle openings to block interior air transit through the plug contacts.
Sealing the Attic Hatch and Penetrations
Because warm air naturally rises through convective buoyancy (the stack effect), the ceiling plane on a home's top floor experiences the highest air pressure differential in cold weather. Any unsealed ceiling opening functions as a chimney, venting heated air directly into unconditioned attic spaces.
Attic access hatches are often uninsulated and loose-fitting. Treat this opening with the same rigour as an exterior door. Fasten high-density closed-cell foam or rubber weatherstripping tape around the entire perimeter of the wooden stop moulding that supports the hatch panel.
Attach rigid foam insulation boards (extruded polystyrene, or XPS) directly to the top side of the attic hatch cover. Fasten enough layers with construction adhesive to match the approximate thermal resistance of the surrounding attic insulation, typically aiming for an R-value between R-40 and R-60 depending on provincial building requirements. For pull-down attic stair assemblies, install a pre-fabricated, zippered, insulated attic stair cover box sealed directly to the attic floor framing with staples and foil tape.
Basement Rim Joists and Utility Penetrations
The transition zone between a home's concrete foundation and wooden framing, known as the rim joist or band joist, is a major source of basement air leakage. Cold air drawn through foundation gaps drops the floor temperature of the ground-floor living area above.
Inspect the basement perimeter where plumbing pipes, gas lines, electrical conduits, and exhaust ducts exit the house. Seal gaps smaller than six millimetres using polyurethane construction sealant or acoustic sealant. For larger irregular openings around pipe sleeves and dryer vents, use low-expansion, closed-cell expanding polyurethane spray foam.
Clean surfaces of loose mortar and dust before spraying. Spray the foam sparingly into the gap, allowing it to expand and cure fully before trimming any excess flush with the wall face. Applying expanding foam around mechanical wall sleeves prevents wind intrusion and keeps exterior rodents and insects from entering utility passages. For homeowners preparing to enter the Ontario real estate market, understanding a property's insulation, air leakage, and overall energy efficiency can inform buying and selling decisions. Explore our home buying and selling resources for guidance in the real estate market.
Long-Term Property Maintenance and Efficiency
Executing targeted air sealing preserves internal building materials and cuts annual heating fuel costs. Draft remediation also prevents attic frost and ice dams along the roof and keeps moist indoor air from escaping into roof structures.
For homeowners preparing a property for the winter real estate market, addressing drafty zones eliminates cold spots that prospective buyers notice during open houses and home inspections. A tight, well-insulated building envelope provides measurable comfort, stabilizes operating costs, and shows future property owners sound preventative maintenance. Contact us for more strategies to make your home market-ready.
Published courtesy of Royal LePage® Meadowtowne Realty on Nov 12th, 2026